Making a Makerspace

What is a Makerspace?
In the past few years, there has been an increasing focus on hands-on learning experiences where students apply their knowledge and make a tangible product. This trend has resulted in the rise of “makerspaces” to facilitate these activities. In our work with schools, we find that while everyone wants one, many struggle to define exactly what they want.
That is not unexpected as there is no definitive description for this type of space. It really depends on the educational goals and activities you hope to accomplish for the space. If you search the web for “makerspace”, you will see that no two spaces look alike. In this article, we will discuss some different ways to think about these spaces in the hopes of bringing greater clarity.
Obviously, the essential feature of these spaces is that it should support making things. First it helps to identify the types of projects to be made. With this defined, the kind of storage, equipment and space needed to make these objects can be designed. But what about other activities in the space?
It may be useful to step back and think about the steps used to create something. Take a birdhouse, for example. First, a student must research birdhouse design. What are the important features that should be included? Next, they have to design the birdhouse. This could be on paper or on computer. After it is designed, they might prototype it or proceed to final construction.
Three Components of a Makerspace
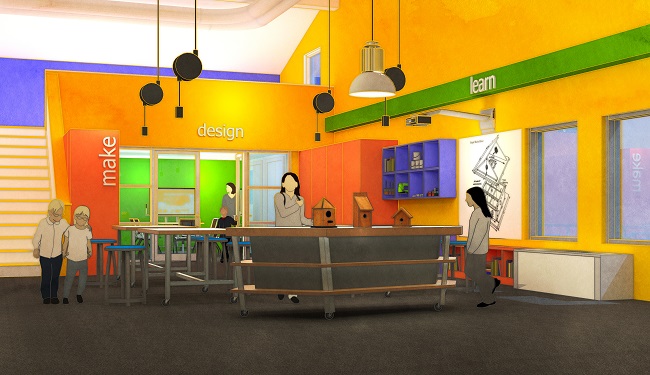
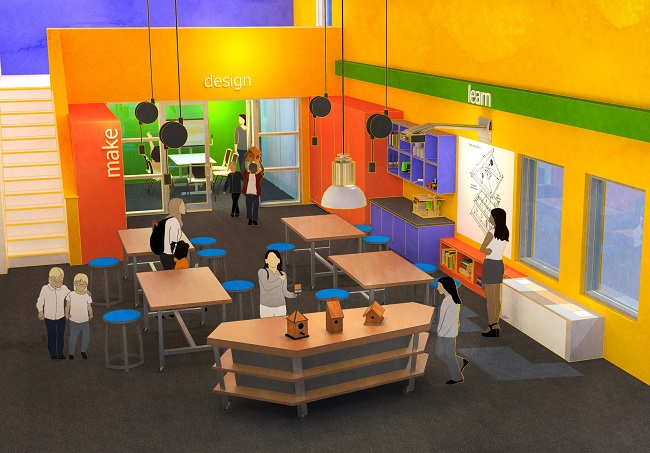
Looking at this process, we can see three separate activities: Learning, Designing and Making. The question we might ask ourselves is what kind of spaces are necessary to support these activities?

A library is a natural resource for research. Perhaps that is why we are often asked to locate a proposed maker space adjacent to the library. Or perhaps there could be a resource area in the maker space that rotates with each unit. Certainly access to the internet with laptops will be important. The makerspace should definitely have a whiteboard, video projector and screen area as well.
Students will also need drawing space, as well as access to computers for designing. If graphics or video editing is being considered, a maker space might have a small group of capable wired computers for those tasks. If prototyping is appropriate, access to a 3d printer may be worthwhile. Of course a 3d printer could also be used for a final product as well.
For the actual making, the requirement for tools, work surfaces and storage is highly dependent on the type of projects. With the older students, there might be a tabletop drill press, saws and hand tools for wood and metal working, but probably not heavy industrial planers and jointers. Workbenches with vises and electrical drops could be used for work stations. You might consider casters for the work benches to allow for easy reconfiguration.
Variations on a Theme
The nature of a makerspace will be different depending on the age group being served. For elementary age students, it is really more of a project room, while for middle and high school students there will be more power tools and advanced computing. One activity that is usually not included in a makerspace is testing. This is usually done in a science lab where experiments are conducted to teach about scientific processes.
The space may be a separate room that is staffed or signed out by a teacher for a period of time. In a small school, it might serve double function as an art room or some other compatible use. Another model to consider is creating a hands-on learning activity area as part of each classroom (or pair of classrooms). Some educators are concerned that, over time, as hands-on learning becomes integrated into the educational program, the dedicated maker space concept will become obsolete, much the same way that the Computer Lab has become.
As many programs that use maker spaces are evolving, the space should be designed for maximum flexibility. Keep fixed equipment and cabinetry to the perimeter of the room. Using retractable electrical drops from the ceiling for the workbenches allows for easy reconfiguration.
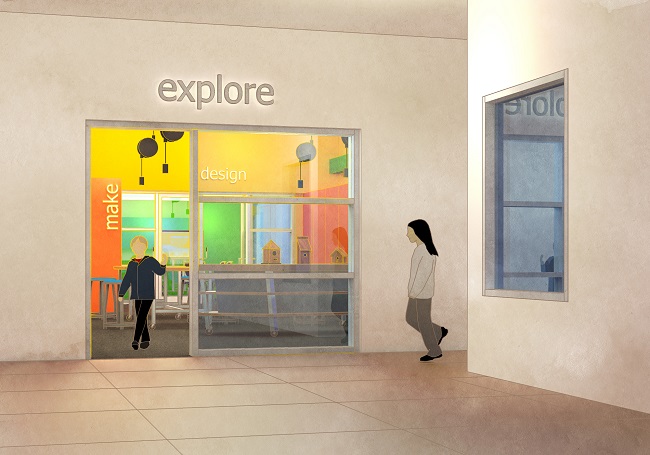
Seeing engaged students making things is exciting, so if possible, try to locate your makerspace in a highly visible location. Consider using plenty of glass and color where it fronts a public area to showcase your new educational resource!
